
The International Association for Dental Research (IADR) is excited to announce the opening of the ScholarOne Abstracts submission site for symposium proposals for the 2016 IADR/PER Congress.
Review the 2016 IADR/PER Congress Call for Abstracts prior to beginning your symposium proposal submission: www.iadr.org/files/meetings/PER/16PER_SymposiumGuidelines.pdf
Log in through Members Only section:
All session proposal submitters, member and non-member, will access the site through the Members Only section of the IADR web site. If you are not a member, you will need to create an account in order to submit an abstract for presentation consideration. NOTE: Creating an account for session proposal submission does not equate to becoming a member or renewing membership to the IADR. This is a separate action.
Upon creating your account and logging in at https://iadr.enoah.com, please find the link to submit your abstract in the area of the website below.

This action will take you directly to the ScholarOne Abstract submission site. You will see this page when you are in the ScholarOne Abstracts site:
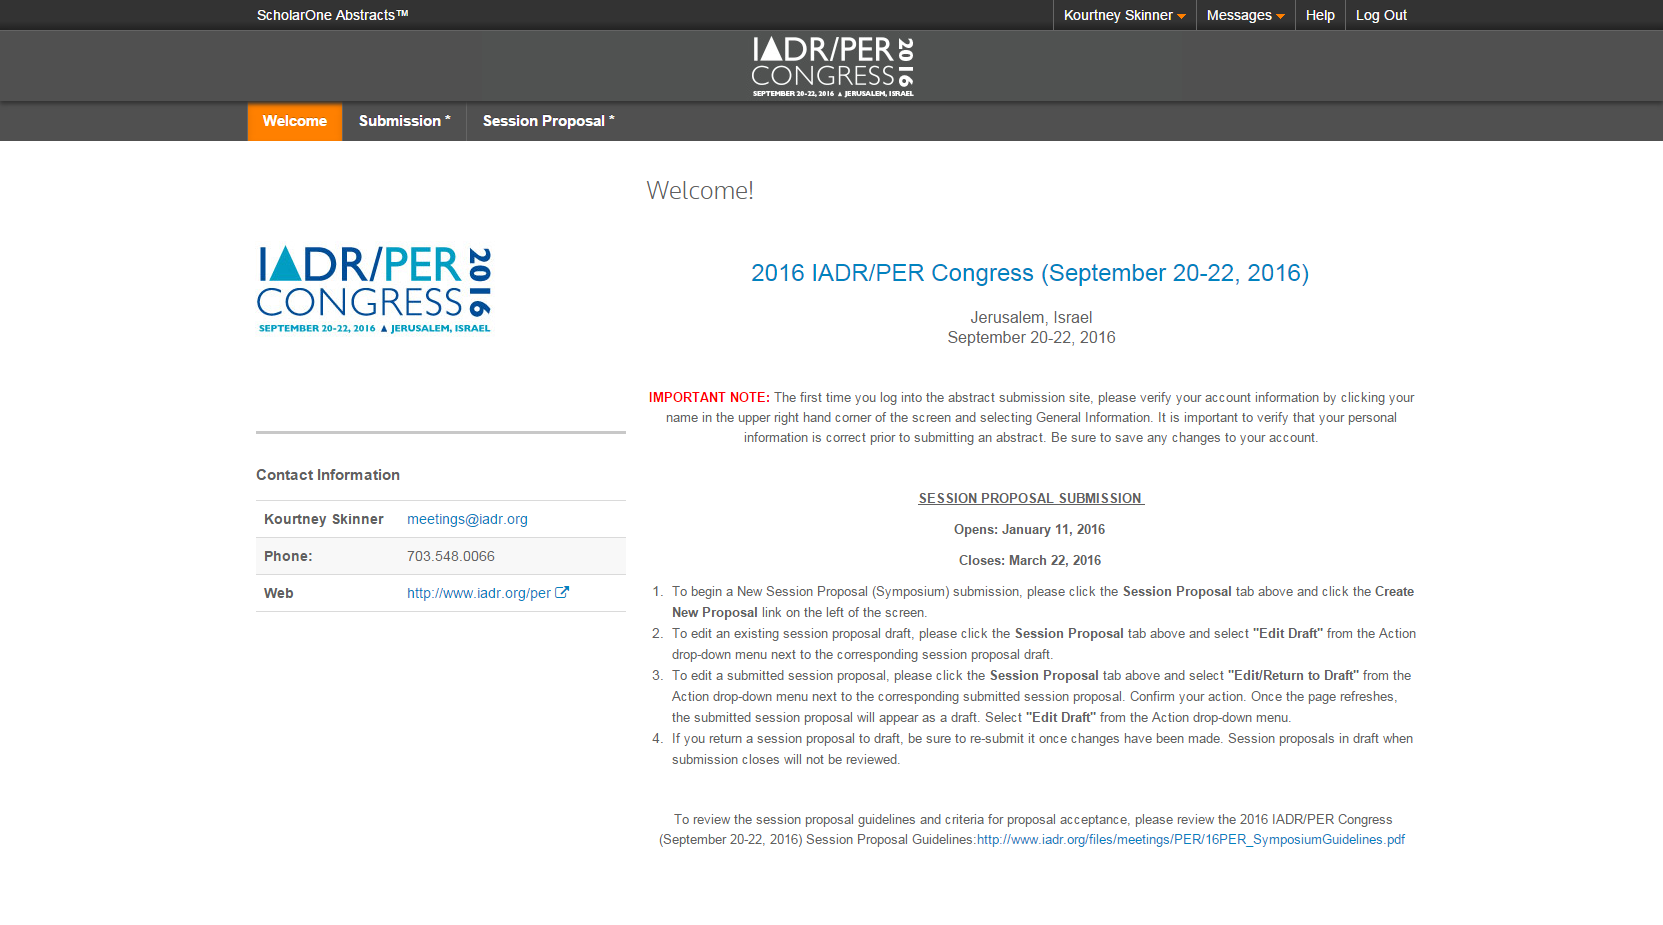
ScholarOne steps for submitting a Session Proposal
The ScholarOne Session Proposal Center allows you to submit a proposal or view previously submitted proposals.
ACCESS THE SESSION PROPOSAL CENTER
- Select the Session Proposal tab.
- The Session Proposal Center displays with View Session Proposals selected. If you have any draft or submitted proposals, you may view them here.
- Click the Create New Session Proposal hyperlink.
STEP 1: CONTENT
- Submitters must select from the provided proposal types. Submission questions are dependent on which session proposal type is selected (Symposium, Hands-on Workshop, Lunch & Learning or Satellite Symposium).
- The fields in Step 2: Content includes fields for the entry of the title, description and learning objectives for your session proposal. You must fill out all of the required fields, denoted by an asterisk (*), on this step as configured by IADR.
- Click Save & Continue to move to the next step.
STEP 2: SESSION PROPOSAL PARTICIPANTS-ORGANIZER(S), ORGANIZER/CHAIR(S) and CHAIR(S) ONLY
You may add and change the order of Organizer(s), Organizer/Chair (s) and Chair(s) in this step.
- If you wish to add participants, click the Add Participants button.
- The Search for Participant to Add fields will display.
- Enter search criteria in the any of the fields, and then click Search.
- If a participant is found in the system, the name will populate in the search results below.
- To add a participant from search results, click the Add link to the left of the participants name and the name will be added to the current participant list.
- If the participant in the search results is not the person, you are looking for click the Create A Participant button.
- If you chose the Create a Participant button, follow these steps to create a participant.
- Note: Please ensure you have searched for an existing participant account before creating a new participant account.
- Complete the required fields First/Given Name, and Last/Family Name.
- Click Submit Created Participant.
- Before the account is created, you will be asked to verify the participant information. If you find an error, click the Edit Information link in the left corner to make the necessary changes, or click Submit Created Participant.
- The new participant is displayed.
- Once the participants are added to your participant list, select the Affiliations drop-down menu to select an affiliation that is already listed or Create New Institution.
- To Create New Institution, a pop up window will display. Enter the required fields Institution, and City, and any other fields as appropriate
- Click Submit Created Institution.
- Once the participant’s affiliations are added, use the drop-down menu to select a participant Role.
- Click Save & Continue.
STEP 3: ADD SPEAKER
- Click the Add Speaker button to enter your speaker(s), speaker(s) affiliation information and the title of the talk they will be giving in your session proposal.
- This action will open the Add Speaker box at the bottom of the page, enabling you to add your proposed speakers one at a time.
In the Add Speaker box, enter the title of the speaker’s talk, capitalizing the first letter of each word. Titles should not exceed 10 words. An abstract is NOT required for session proposal speakers. For all session proposal types, you are only required to provide the title of talk, speaker name and speaker affiliation information.
- After entering the title, Add the speaker for the talk specified by clicking the Add Author button.
- The Search for Author to Add fields will display
- Enter search criteria in any of the fields and then click Search.
- If an author is found in the system, the name will populate in the search results below.
- To add an author form search results, click the Add link to the left of the author’s name and the name will be added to the title.
- If the author in the search results is not the correct person, click the Create An Author button.
- If you chose the Create An Author button, follow these steps to create an author. Note: Please ensure you have searched for an existing author account before creating a new author account.
- The Create An Author screen displays. Complete the required fields.
- Click Submit Created Author.
- Before the account is created, you will be asked to verify the author information. If you find an error, click the Edit Information link in the left corner to make the necessary changes, or click Submit Created Author.
- Once the authors are added as a speaker, you can add their affiliations by using the drop-down menu to select an affiliation that is already listed or click Create New Institution
- The Create New Institution pop-up widow will display. Enter all of the required fields: Institution, City, State and Country.
- Click Submit Created Institution.
- When you are satisfied with the information entered in the Add Speaker box (title, speaker and speaker affiliation), click Add Created Speaker & Add Another button in the lower right corner of the Add Speaker box to add the speaker to your session proposal and repeat the steps to add the next title/speaker to your session.
- If you only have one speaker (Lunch & Learning session proposals) or have entered your final speaker for your session proposal, click the Add Speaker button in the lower right corner of the Add Speaker box.
If a speaker does not appear under the heading “Add Speakers,” they have not been successfully added to the session proposal.
STEP 4: REVIEW AND SUBMIT
Review & Submit allows you to preview the information that was entered on each step of the proposal process.
- Review your proposal information. If any information needs to be updated, click the Edit button next to the step name. All Added Speakers and Titles will appear under the header Step 3: Add Speaker. If the speakers you added do not appear under the Step 3: Add Speaker header, please return to the step by clicking the Edit button.
- If complete, click the Submit button.
- The View Session Proposal screen will display and will list the proposal you just created in the Proposal section.
You will receive notification of the successful submission of your session proposal and individual notifications for each Add Speaker successfully added to your session proposal to the email address you have provided in the Members Only log-in.
Notifications will be sent to all speakers added to the session proposal. All notifications sent from the ScholarOne Submission site are available for the submitter and the speakers in their ScholarOne Message Center (located in the upper right hand corner of the screen).